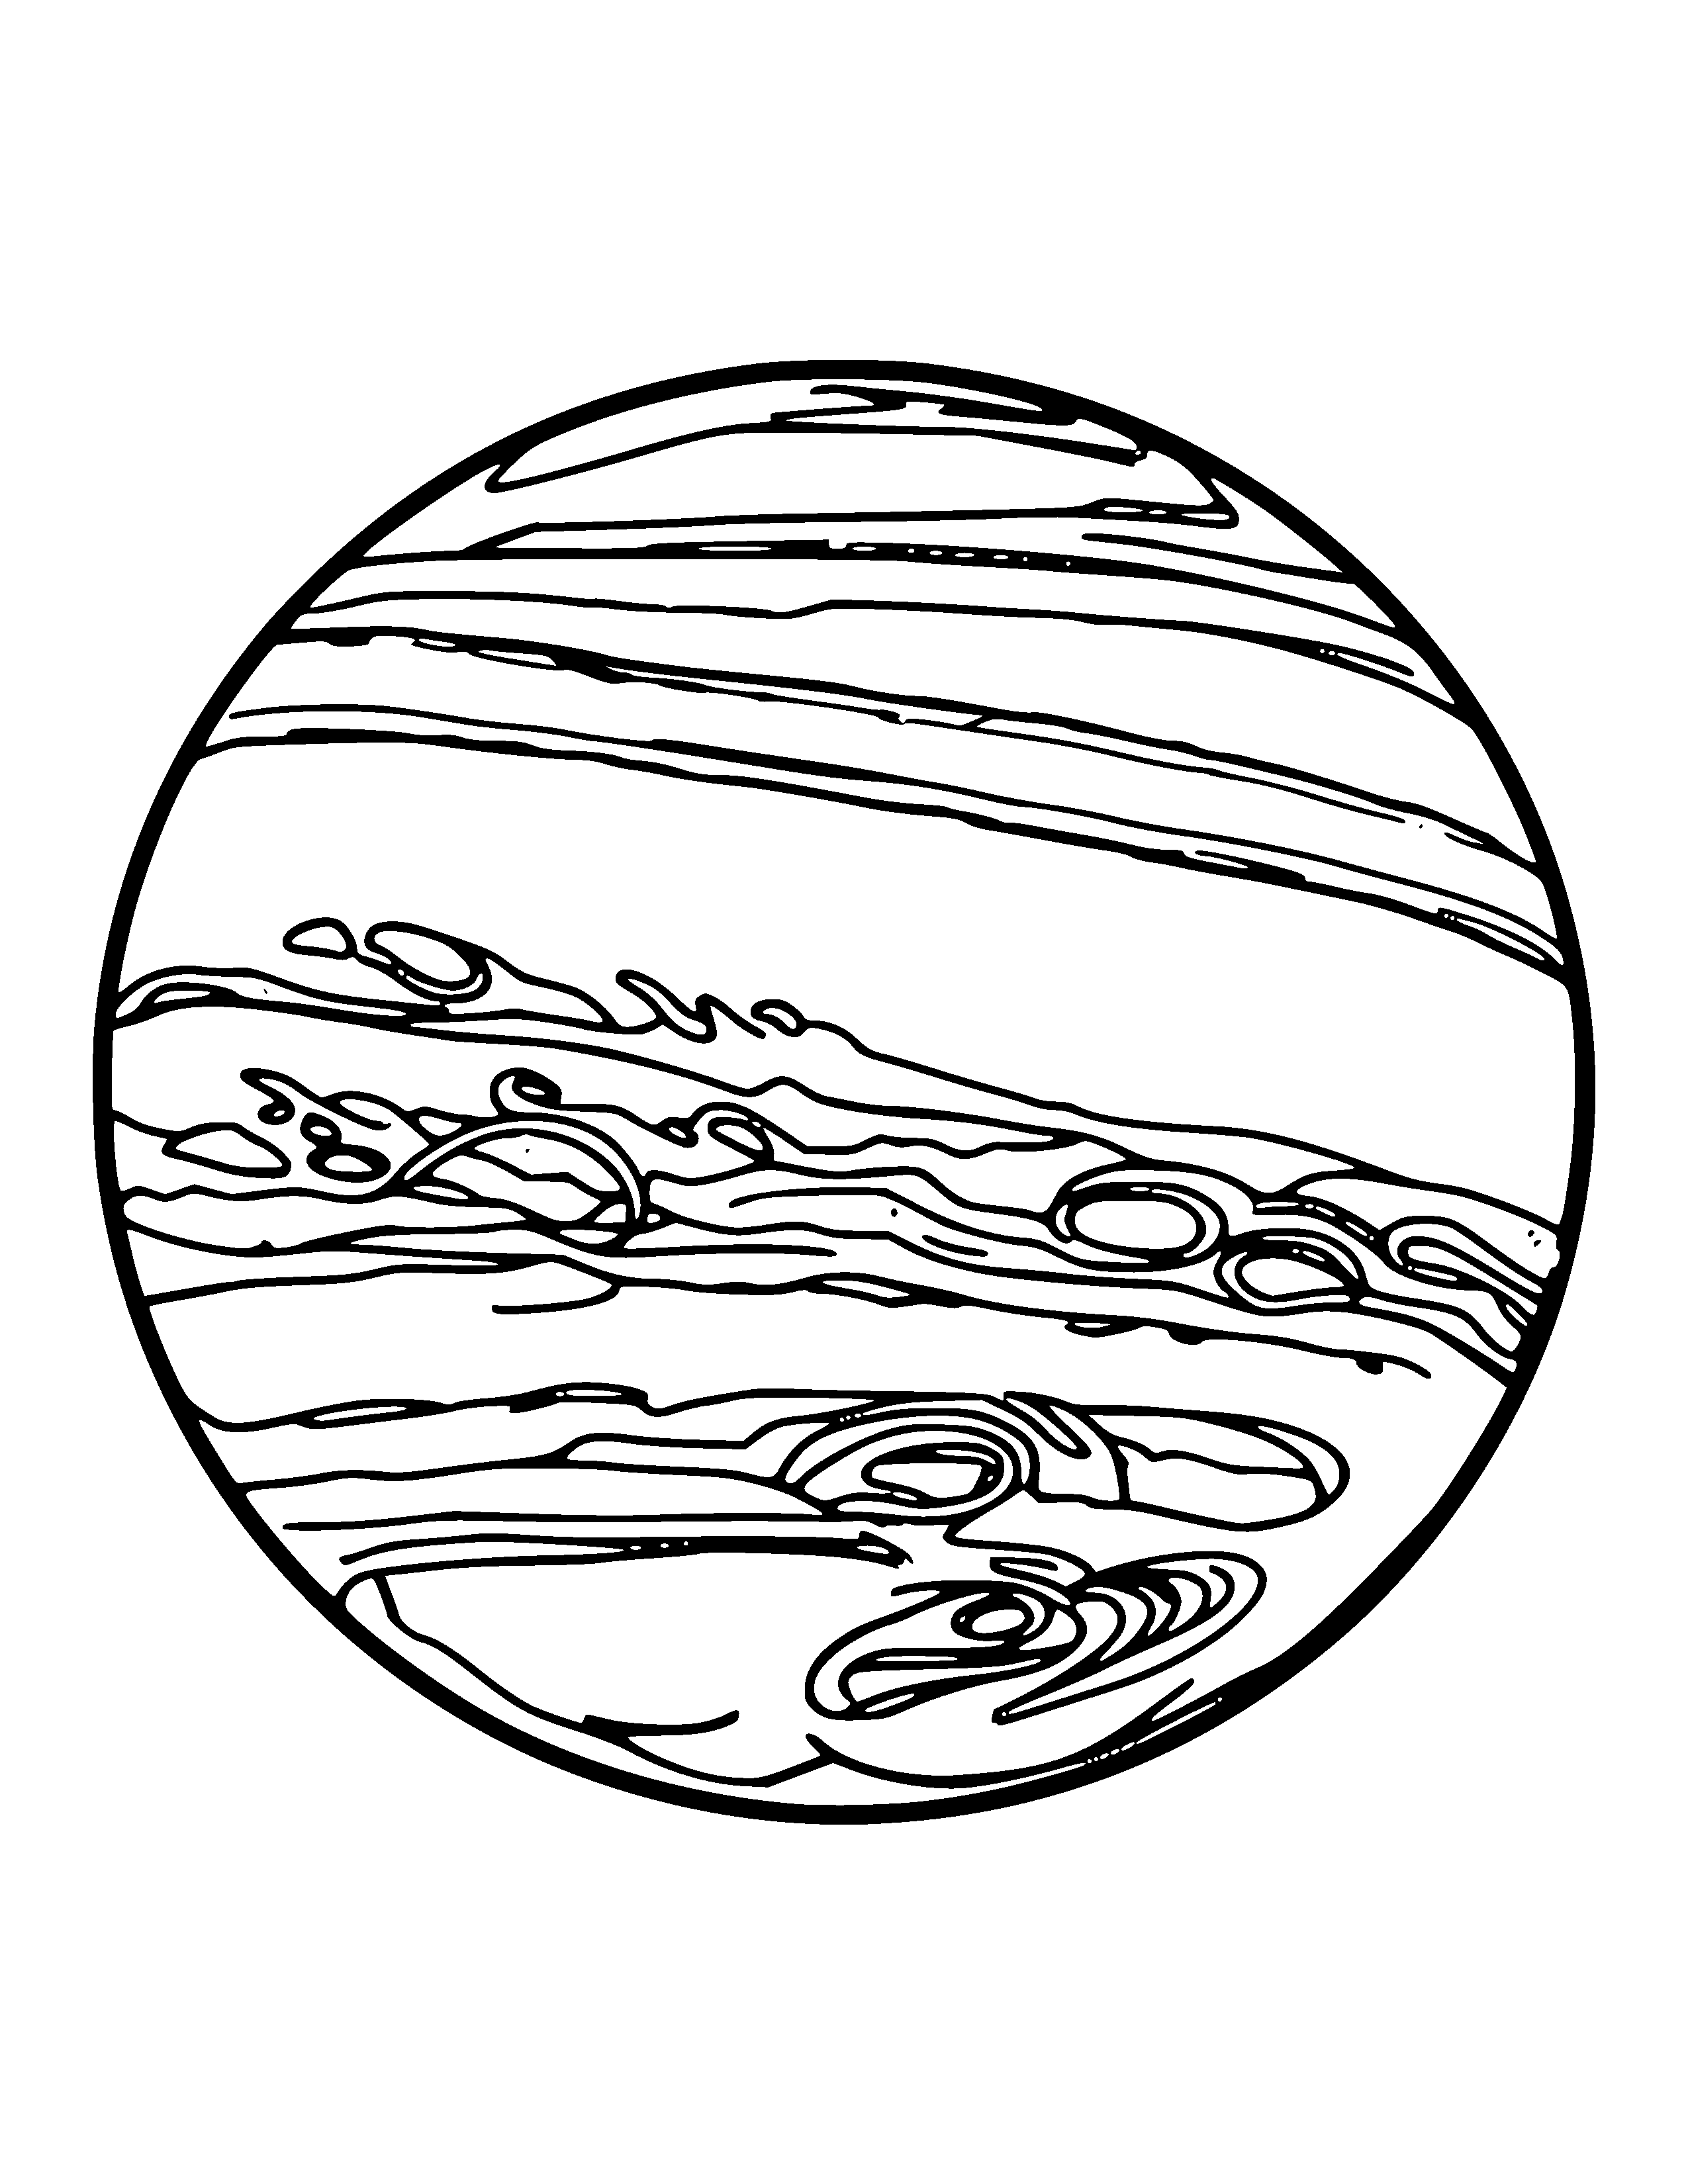
Jupiter
- Età rakkomandata
- 5-8
- Diffikultà
- 3 / 5
- Dettall
- medium
- Żoni li għandhom jiġu kkuluriti
- 84
- Kopertura tal-linka
- 6.8%
- Piż tal-linja
- Medium
- L-eqreb distakk
- 0.3 mm
- Liċenzja
- CC0 qasam pubbliku - b'xejn għall-klassi u l-użu kummerċjali
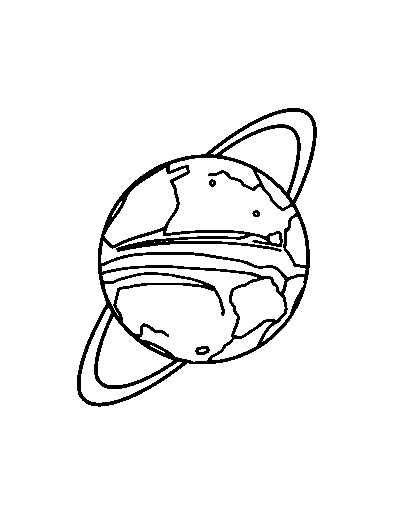
This is a free printable Jupiter coloring page. It has 84 separate areas to colour, medium outlines, and covers about 6.8% of the sheet in ink. It prints on one page at 300 DPI on both US Letter and A4.
Printing this page
Standard 20 lb / 80 gsm copy paper handles this page. If you plan to use markers rather than pencils, 24 lb / 90 gsm will stop the colour showing through.
Print at 100% scale rather than "fit to page". Both downloads already leave a 0.25 in (6 mm) margin, which is inside the unprintable edge of every common home and office printer, so nothing gets clipped. The file contains no colour at all, so the black-only setting prints it faster and cheaper.
If it does not print right
If the lines print grey rather than black, check that the printer is not in draft mode and that you have not accidentally selected a colour profile - a pure black-and-white file sent through a colour profile can come out as a muddy composite black built from all four inks.
What's on the page
There are 84 enclosed areas on this page - the separate pockets the outlines divide the drawing into. That is what decides whether a page feels quick or absorbing, far more than the subject does.
The narrowest channel between two lines measures about 0.34 mm at full print size. We measure this on every page because it is what decides whether a marker will bleed across an outline.
The composition is centered, which is worth knowing before you print - it determines how much white space sits around the edge of the drawing.
What to colour it with
For this page we would use coloured pencils or fine-tip markers. A broad marker will cross the narrower gaps before you can stop it.
Who this page suits
We put this page at roughly the 5-8 age range, based on the line weight and how many separate areas it has - not on the subject. Plenty of adults colour pages meant for children and the other way round; the band is a starting point.
This suits an early-years classroom as an early-finisher task or a settling activity after break. It is long enough to occupy a child properly and short enough to finish in one session, which matters more than it sounds.
In a classroom it fits alongside science-space.
What to look for in this drawing
Scenes need depth or they flatten out. Use lighter, cooler colours for anything meant to be far away and stronger, warmer ones at the front - it is a single trick and it does most of the work.
How to colour this page well
Work from the centre of interest outwards, and leave the background until last. That way the background colour is chosen to support what is already on the page instead of fighting it. If you want depth, press harder at the edges of each shape and lighter towards the middle - it is the fastest way to stop a flat fill looking flat.
Stay just inside the outlines rather than aiming exactly at them. A one-millimetre margin of white next to the line reads as crisp; crossing the line reads as messy.
What to do with it once it is coloured
Colour it, cut it out and mount it as a backdrop for small toys. It also works printed twice and folded into a simple diorama.
Printed at full size the artwork sits within a 0.25 in margin, so there is a clean border to cut along if you are mounting or framing it.
How to colour the Jupiter page
- Print it at full size. Standard 20 lb / 80 gsm copy paper handles this page. If you plan to use markers rather than pencils, 24 lb / 90 gsm will stop the colour showing through. Set your printer to 100% or "Actual size" - never "Fit to page" - so the page prints at true 300 DPI and the right size for US Letter or A4.
- Choose your colouring tools. For this page, reach for coloured pencils or fine-tip markers. A broad marker will cross the narrower gaps before you can stop it.
- Plan your colours. Start with sky and ground so the scene has a setting, then colour the buildings or landmarks on top of it.
- Colour in the right order. Work one section at a time rather than one colour at a time. With this many separate areas, a section-by-section pass is what stops it feeling endless.
- Add depth last. Save shading and outlining for the end. Press a little harder at the edges of each shape and ease off toward the middle - that single trick makes a flat coloured page look finished.
- Save or display your work. When you are done, colour it online with the "Colour this page" button, or photograph your printed sheet - you can keep a copy in your gallery or turn it into a print.