Bob Marley
- Soovitatud vanus
- 5-8
- Raskused
- 3 / 5
- Üksikasjad
- high
- Värvitavad alad
- 144
- Tindi katvus
- 30.9%
- Joonmass
- Thick
- Kõige kitsam lõhe
- 0.5 mm
- Litsents
- CC0 üldkasutatav: tasuta klassiruumi ja äriotstarbeliseks kasutamiseks
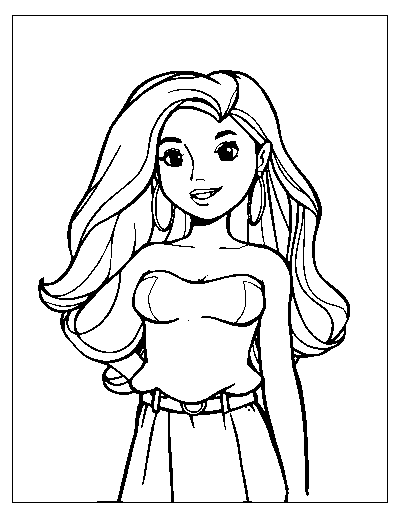
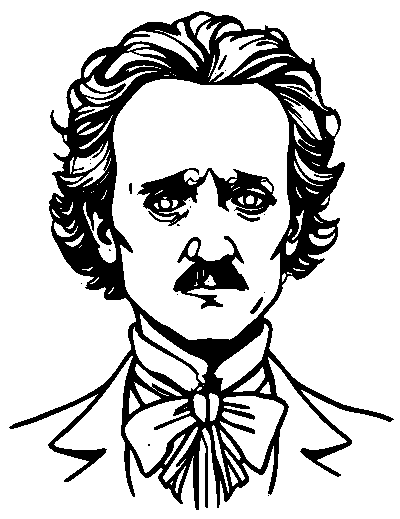
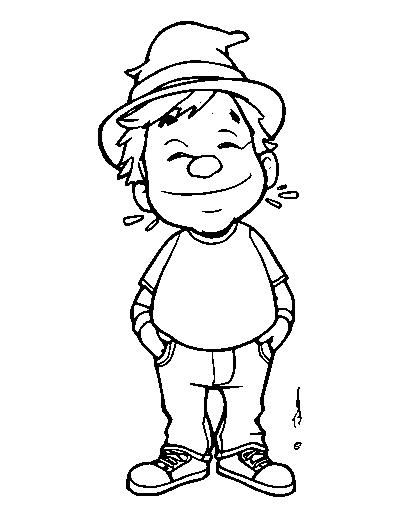
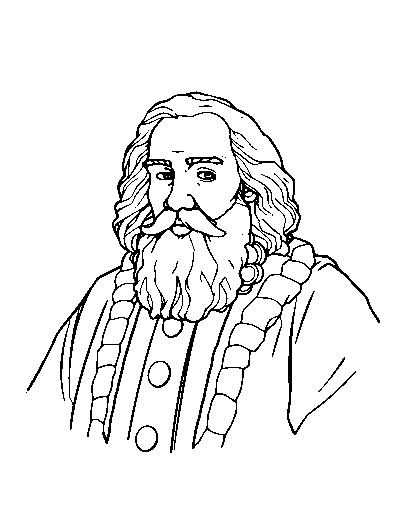
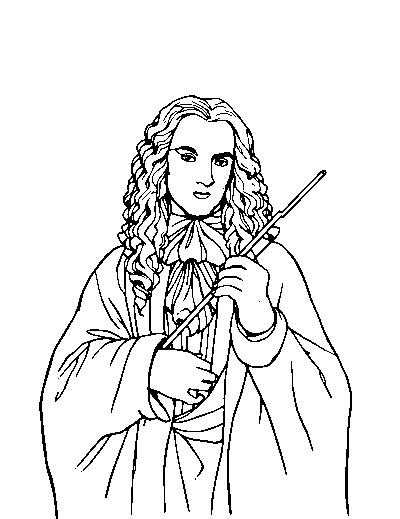
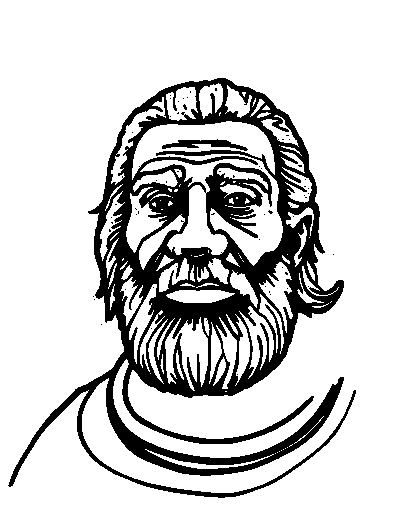
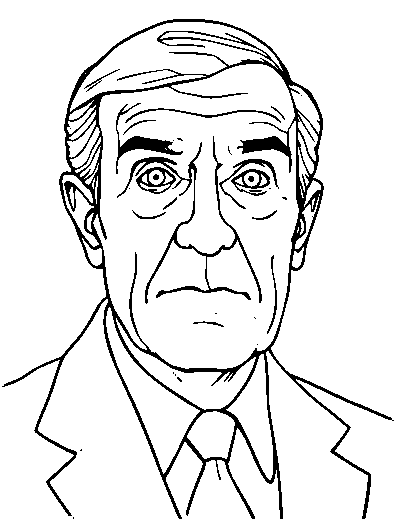
This is a free printable Bob Marley coloring page. It has 144 separate areas to color, thick outlines, and covers about 30.9% of the sheet in ink. It prints on one page at 300 DPI on both US Letter and A4.
Printing this page
Use cardstock, or at least 28 lb / 105 gsm. This page is very ink-dense: on copy paper it will show through, and wet media will go straight through it.
Print at 100% scale rather than "fit to page". Both downloads already leave a 0.25 in (6 mm) margin, which is inside the unprintable edge of every common home and office printer, so nothing gets clipped. The file contains no color at all, so the black-only setting prints it faster and cheaper.
If it does not print right
This page puts a lot of ink down. On an inkjet, expect the paper to cockle unless you use at least 24 lb stock, and give each sheet a minute before stacking. On a laser printer it will be fine but it will use noticeably more toner than a typical page: worth knowing before you print a class set.
What's on the page
There are 144 enclosed areas on this page: the separate pockets the outlines divide the drawing into. That is what decides whether a page feels quick or absorbing, far more than the subject does.
The narrowest channel between two lines measures about 0.47 mm at full print size. We measure this on every page because it is what decides whether a marker will bleed across an outline.
The composition is centered, which is worth knowing before you print: it determines how much white space sits around the edge of the drawing.
What to color it with
For this page we would use colored pencils or fine markers: the outlines are bold but some of the internal spaces are narrow.
Who this page suits
We put this page at roughly the 5-8 age range, based on the line weight and how many separate areas it has, not on the subject. Plenty of adults color pages meant for children and the other way round; the band is a starting point.
This suits an early-years classroom as an early-finisher task or a settling activity after break. It is long enough to occupy a child properly and short enough to finish in one session, which matters more than it sounds.
What to look for in this drawing
Faces carry the whole page. Color the eyes last and lightly: they are small, they are what everyone looks at, and they are the one place where pressing too hard cannot be undone.
How to color this page well
On a page with this many separate areas, the usual mistake is to start coloring immediately and run out of patience halfway. Plan a limited palette first: four to six colors, and decide which one repeats most often. Then work in passes: lay down every area of your first color across the whole page, then the second, and so on. It is faster, it keeps the result coherent, and it means an unfinished page still looks intentional.
Because the outlines are heavy, you can color right up to them without much care: the black line hides any overshoot. That is exactly why thick-line pages suit small hands.
What to do with it once it is colored
Cut it out, tape a lolly stick to the back and it becomes a puppet. Two of them and you have the beginnings of a story to act out.
Printed at full size the artwork sits within a 0.25 in margin, so there is a clean border to cut along if you are mounting or framing it.
How to color the Bob Marley page
- Print it at full size. Use cardstock, or at least 28 lb / 105 gsm. This page is very ink-dense: on copy paper it will show through, and wet media will go straight through it. Set your printer to 100% or "Actual size" (never "Fit to page") so the page prints at true 300 DPI and the right size for US Letter or A4.
- Choose your coloring tools. For this page, reach for colored pencils or fine markers: the outlines are bold but some of the internal spaces are narrow.
- Plan your colors. Choose the character's main colors first (skin or fur, hair, clothing) then fill the background so the figure still stands out from it.
- Color in the right order. Work one section at a time rather than one color at a time. With this many separate areas, a section-by-section pass is what stops it feeling endless.
- Add depth last. Save shading and outlining for the end. Press a little harder at the edges of each shape and ease off toward the middle: that single trick makes a flat colored page look finished.
- Save or display your work. When you are done, color it online with the "Color this page" button, or photograph your printed sheet: you can keep a copy in your gallery or turn it into a print.