Alphabet
- Ráðlagður aldur
- 2-4
- Erfiðleikar
- 2 / 5
- Nánar
- low
- Svæði til að lita
- 29
- Blekk umfang
- 7.2%
- Línuþykkt
- Medium
- Mjókkasta bil
- 1.6 mm
- Leyfi
- CC0 almenningsgarður - ókeypis fyrir kennslustofur og viðskiptanotkun
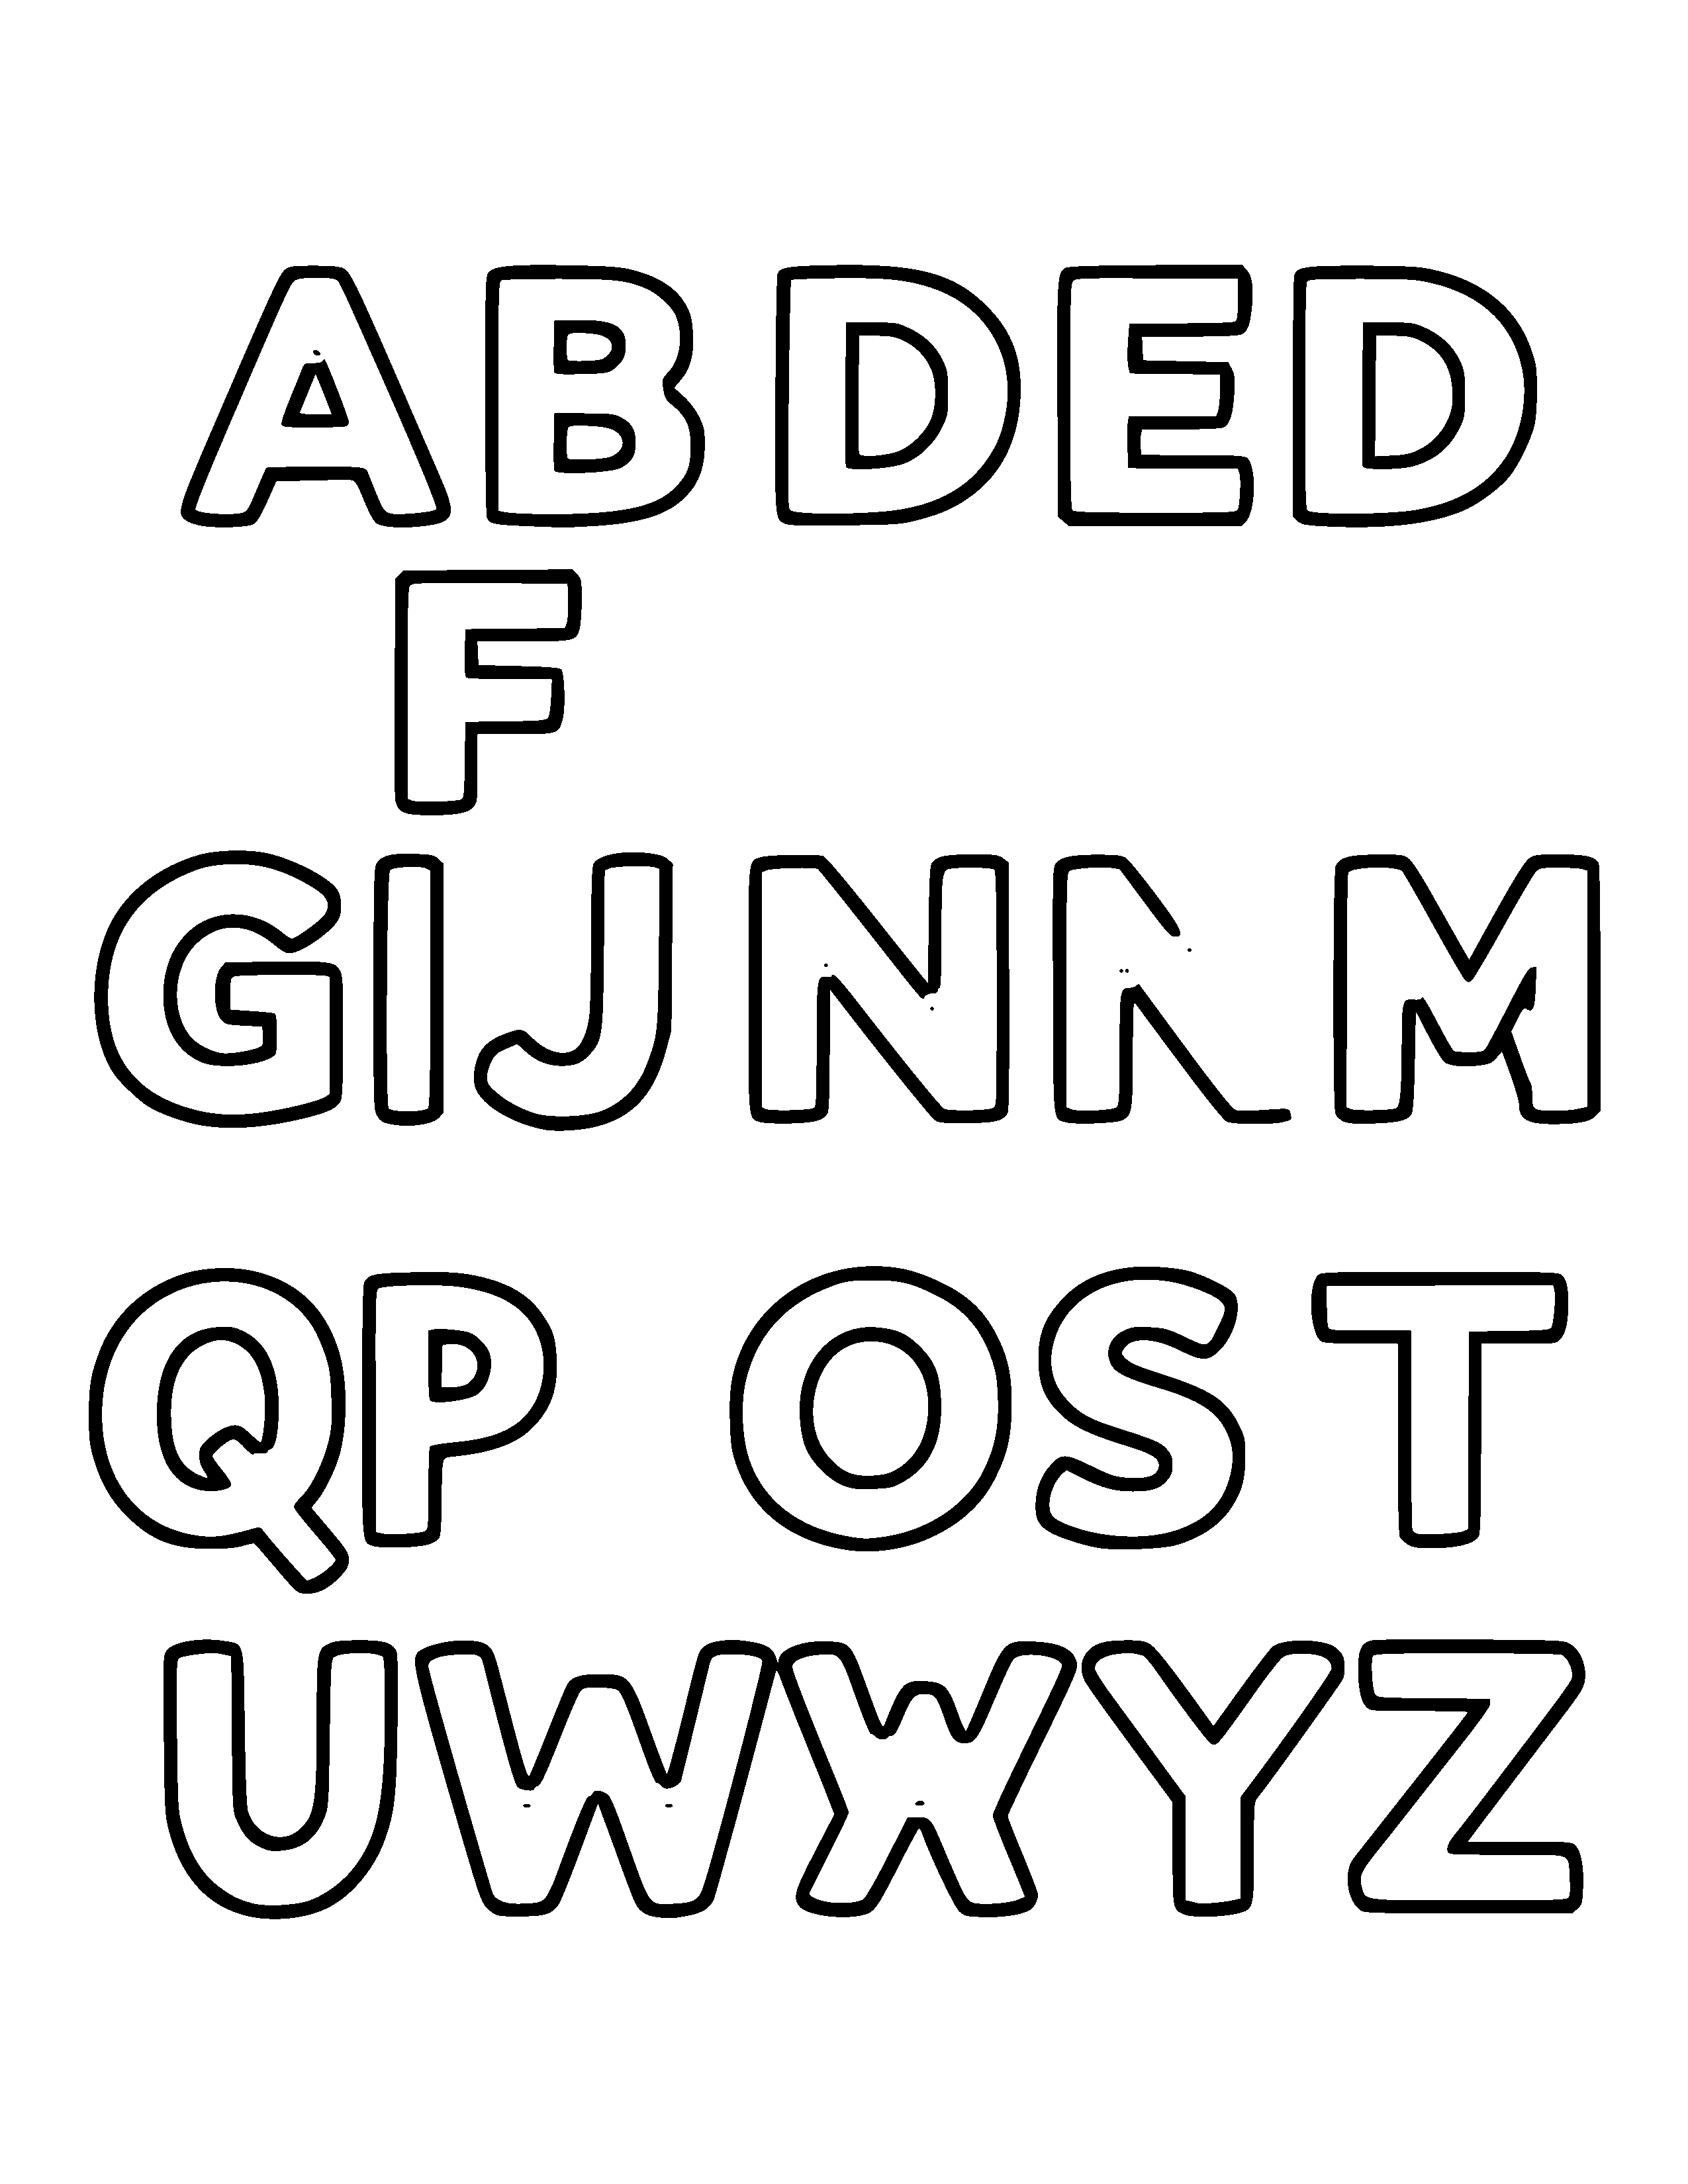
This is a free printable Alphabet coloring page. It has 29 separate areas to colour, medium outlines, and covers about 7.2% of the sheet in ink. It prints on one page at 300 DPI on both US Letter and A4.
Printing this page
Standard 20 lb / 80 gsm copy paper handles this page. If you plan to use markers rather than pencils, 24 lb / 90 gsm will stop the colour showing through.
Print at 100% scale rather than "fit to page". Both downloads already leave a 0.25 in (6 mm) margin, which is inside the unprintable edge of every common home and office printer, so nothing gets clipped. The file contains no colour at all, so the black-only setting prints it faster and cheaper.
If it does not print right
If the lines print grey rather than black, check that the printer is not in draft mode and that you have not accidentally selected a colour profile - a pure black-and-white file sent through a colour profile can come out as a muddy composite black built from all four inks.
What's on the page
There are 29 enclosed areas on this page - the separate pockets the outlines divide the drawing into. That is what decides whether a page feels quick or absorbing, far more than the subject does.
The narrowest channel between two lines measures about 1.64 mm at full print size. We measure this on every page because it is what decides whether a marker will bleed across an outline.
The composition is centered, which is worth knowing before you print - it determines how much white space sits around the edge of the drawing.
What to colour it with
For this page we would use coloured pencils or markers. Both work; pencils give you more control in the smaller areas.
Who this page suits
We put this page at roughly the 2-4 age range, based on the line weight and how many separate areas it has - not on the subject. Plenty of adults colour pages meant for children and the other way round; the band is a starting point.
In a nursery or reception setting this is fine-motor practice more than art. The wide spaces let a child succeed with a fist grip, and success is what keeps them coming back to the table.
In a classroom it fits alongside ela-alphabet.
What to look for in this drawing
Letter pages do double duty: the shape of the letter is being learned while it is being coloured. Tracing the outline with a finger before colouring helps the shape stick more than colouring alone does.
How to colour this page well
With only a handful of areas to fill, the thing that decides how this page looks is colour choice rather than technique. Pick three or four colours that sit next to each other on the colour wheel and it will read as deliberate; grab whatever is nearest and it will read as random. Fill the biggest shape first - it sets the tone for everything you choose afterwards.
Stay just inside the outlines rather than aiming exactly at them. A one-millimetre margin of white next to the line reads as crisp; crossing the line reads as messy.
What to do with it once it is coloured
Colour the whole set and peg them on a string to make an alphabet frieze for a bedroom or classroom wall. Laminated singly, they become tracing cards.
Printed at full size the artwork sits within a 0.25 in margin, so there is a clean border to cut along if you are mounting or framing it.
How to colour the Alphabet page
- Print it at full size. Standard 20 lb / 80 gsm copy paper handles this page. If you plan to use markers rather than pencils, 24 lb / 90 gsm will stop the colour showing through. Set your printer to 100% or "Actual size" - never "Fit to page" - so the page prints at true 300 DPI and the right size for US Letter or A4.
- Choose your colouring tools. For this page, reach for coloured pencils or markers. Both work; pencils give you more control in the smaller areas.
- Plan your colours. There is no correct scheme here - pick a small palette of three or four colours and repeat it across the design so the whole page still feels planned.
- Colour in the right order. Block in the big background areas first, then work inward to the smaller shapes. Finishing the large areas early stops you smudging them later.
- Add depth last. Save shading and outlining for the end. Press a little harder at the edges of each shape and ease off toward the middle - that single trick makes a flat coloured page look finished.
- Save or display your work. When you are done, colour it online with the "Colour this page" button, or photograph your printed sheet - you can keep a copy in your gallery or turn it into a print.